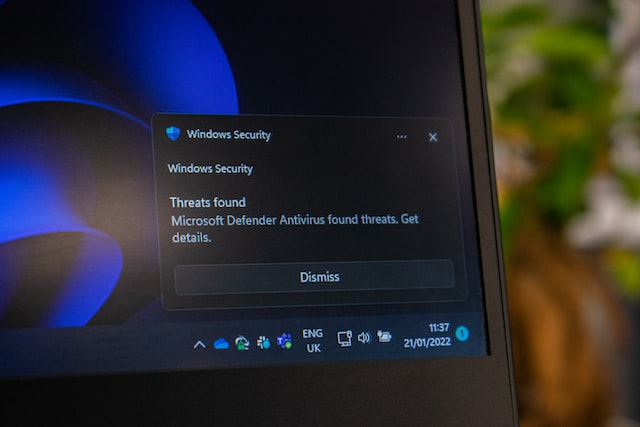
Microsoft Windows Defender Antivirus is the default antivirus software for the Windows 11/10 operating system. It is turned on by default unless another security solution is recognized by the operating system installed. So how to stop this Windows Defender? The following steps below show several methods of stopping Windows defender. Let’s get started!

Table of Contents
Enabling or disabling real-time protection in Windows 11
Windows Security offers an option to turn off specific security modules, including Real-time Protection, in the Settings app. Real-time protection can be turned off temporarily, while all other protection modules can be turned off permanently. Sometimes, turning off this feature for a short period of time may be enough to solve the problem encountered.
Step 1: Open Windows Security in the Settings app.
- Select Start and Settings or use the keyboard shortcut Windows -I to open the Settings application.
- Select Privacy and Security from the left menu.
- Select Windows Security on the opened page.
Step 2: Turn on Virus & Threat Protection
On the open page, select Virus & threat-protection from the list of protected areas. This will open the Windows Security application.
Step 3: Disable real-time protection
- On the page that opens, select Manage Settings under Virus and Threat Protection Settings.
- Turn off real-time protection.
- Accept the alert prompt displayed when making changes.
Microsoft has a page to remind you that the turn-off is temporary and prevents malware from installing or running on your device. You can temporarily turn off this setting, and it will automatically turn back on.
Tip: Here you can disable other protection modules like Cloud Delivery Protection, Automatic Sample Submission, or Tamper Protection.
Disable Windows Defender antivirus using Group Policy Editor
To permanently disable Windows Defender Antivirus, you need to use the Group Policy Editor or the corresponding registry setting. Note that you must disable the Tamper Protection feature in Windows Security Center before making changes. If you don’t, Windows Security Center may enable Windows Defender antivirus again.
Here’s how to do it:
- Click on Start and Settings or use the keyboard shortcut Windows -I to open the Settings application.
- Select Privacy and Security from the left menu.
- Select Windows Security on the opened page.
- On the open page, select Virus & Threat Protection from the list of protected areas.
- On the opened page, select Manage Settings under Virus and Threat Protection Settings.
- On the page, toggle Tamper Protection to Off.
- Choose Start, type gpedit.msc and choose the result from the list.
- Use the hierarchy on the left to go to Computer Configuration > Administrative Templates > Windows Components > Microsoft Defender Antivirus.
- Find “Turn off Microsoft Defender Antivirus” and double-click the policy. If you can’t find it, click the column’s Settings heading to alphabetically sort the list of policies.
- Switch the policy status to Enabled on the page that opens.
- Choose Apply then OK to save the changes.
- Restart Windows 11/10.
Virus and threat protection should be turned off after reboot. Note that you will still see a shield icon in the system tray area because the shield icon is the Windows Security icon, not the Microsoft Defender Antivirus icon.


